The BeagleBone is the low-cost, high-expansion hardware-hacker focused BeagleBoard. It is a bare-bones BeagleBoard that acts as a USB or Ethernet connected expansion.
BeagleBone brings full-featured Linux to places it has never gone before.
Delicious facts about BeagleBone
![]() AM3359 Processor btw. this is the Datasheet
AM3359 Processor btw. this is the Datasheet
500MHz when connected with USB
720MHz on DC Power
![]() Board size: 3.4″ x 2.1″
Board size: 3.4″ x 2.1″
![]() Shipped with 4GB microSD card with the Angstrom Distribution.
Shipped with 4GB microSD card with the Angstrom Distribution.
Single cable development environment with built-in FTDI-based serial/JTAG and on-board hub to give the same cable simultaneous access to a USB device port on the target processor
Industry standard 3.3V I/Os on the expansion headers with easy-to-use 0.1″ spacing
On-chip Ethernet, not off of USB
Easier to clone thanks to larger pitch on BGA devices (0.8mm vs. 0.4mm), no package-on-package memories, standard DDR2 vs. LPDDR, integrated USB PHYs and more.
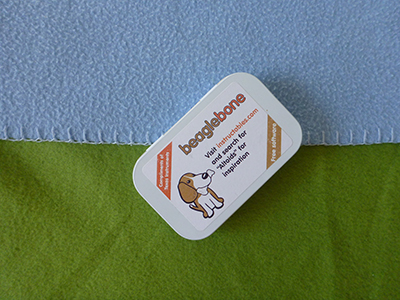
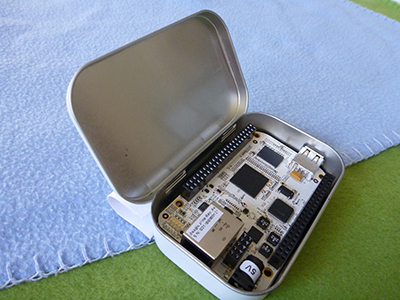
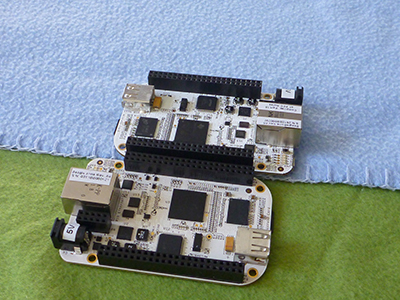
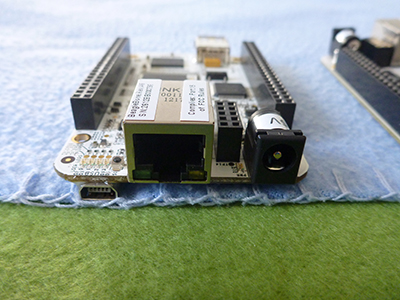
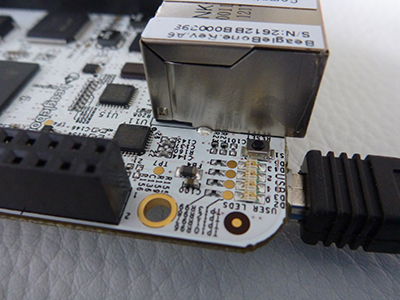
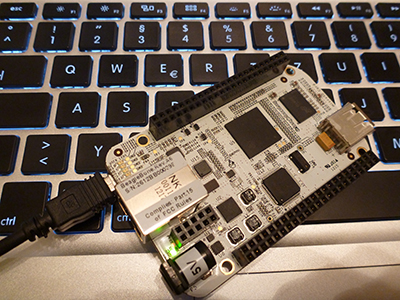
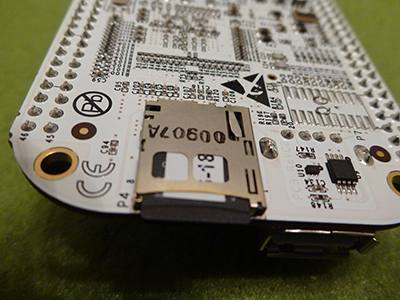
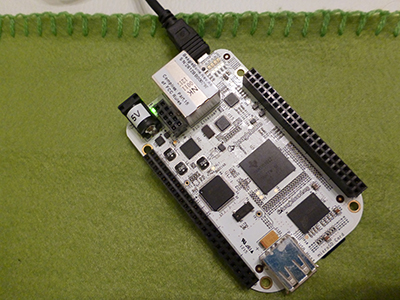
![]() Connect to your BeagleBone’s serial console “for Mac or Linux users” (Linux users should install it manually: apt-get install screen).
Connect to your BeagleBone’s serial console “for Mac or Linux users” (Linux users should install it manually: apt-get install screen).
Connect BeagleBone over USB with your laptop and issue this command in yor terminal:
1 | screen `ls /dev/{tty.usb*B,beaglebone-serial}` 115200 |
In the first example I show you how to control a led over GPIO-ports
In this example I used Fritzing with BeagleBone parts.
Parts you need:
– Running BeagleBoard
– Breadboard (if you have one)
– 5mm led (if you have 3mm one you will need a resistor to prevent a burn out)
– one 220Ω resistor
– some cables (or paperclips)
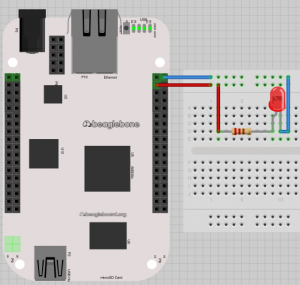
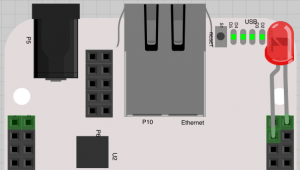
Anode of your led will be connected to pin NR. 3 (the long one) in other words +(plus)
Cathode can be connected to pin NR. 1 or 2 it doesn’t matter which one of both.
Now some words to the GPIO programming:
1 2 3 4 5 6 7 8 9 10 11 12 | #!/bin/sh echo 38 > /sys/class/gpio/export while : do echo high > /sys/class/gpio/gpio38/direction sleep 1 echo low > /sys/class/gpio/gpio38/direction sleep 1 done echo 38 > /sys/class/gpio/unexport |
Your LED should go on! When you are done you can unexport the used pin and it will disappear.
Make the script executable with “chmod +x scripname.sh” command
Run your script “./scripname.sh“, your led should blink every second =)
Disable/Enable all system leds:
1 2 3 4 5 6 | #!/bin/bash for leds in /sys/class/leds/beaglebone\:\:usr{0..3}/brightness do echo 0 > $leds done |
echo one(on) or zero(off)
You ask me WHY? Save energy =) while on battery/solar power
Control led on pin NR. 4:
1 2 3 4 5 6 7 8 9 10 11 12 13 14 15 16 17 18 19 | #!/bin/bash GPIONUMBER=39 GPIOMUX=gpmc_ad7 echo 7 > /sys/kernel/debug/omap_mux/$GPIOMUX echo $GPIONUMBER > /sys/class/gpio/export echo out > /sys/class/gpio/gpio$GPIONUMBER/direction COUNT=0 until [ $COUNT -gt 5 ]; do echo "1" > /sys/class/gpio/gpio${GPIONUMBER}/value sleep 0.25 echo "0" > /sys/class/gpio/gpio${GPIONUMBER}/value sleep 0.25 let COUNT=COUNT+1 done echo $GPIONUMBER > /sys/class/gpio/unexport |
Research to power consumption
Work with external power devices like battery packs or solar power can damage your board, BeagleBone has a over voltage protection at 5.6V and above automatic shutdown will be proceeded.
I was able run a BeagleBone with 4 AA rechargeable batteries (1,2V) Power supply 5.09V
If you try to run beagle bone with less the 5V it will not boot =(
If you try to solder something to the power dc jack don’t forget plus is inside:![]()
BeagleBone run default with angstrom linux, I prefer Debian GNU/Linux this step by step tutorial will help you to install it.
Please don’t touch the original micro sd card buy a new one!
For the installation of Debian GNU/Linux to a micro SD-card you need a PC or notebook with a slot for SD-Card, also you will need to install the following packages on your Debian/Ubuntu System:
1 | apt-get install git-core uboot-mkimage wget dosfstools parted |
Fedora require:
1 | yum install wget dosfstools parted dpkg patch uboot-tools |
Now we use netinstall script prepared by Robert Nelson with kernel 3.2.25-psp20 (28.01.2013)
BTW. The kernel images will be downloaded from http://rcn-ee.net/deb
1 2 | git clone git://github.com/RobertCNelson/netinstall.git cd netinstall |
I use a 4 GB micro SD-Card “fdisk -l” output:
1 | Disk /dev/sdb: 3904 MB, 3904897024 bytes |
1 | ./mk_mmc.sh --mmc /dev/sdb --uboot bone |
Q: Are you 100% sure, on selecting [/dev/sdb] (y/n)?
A: Answer with y and press return
Now this script will download a Kernel and initrd.gz images and perform some pre-installation tasks, be patient and wait for the “mk_mmc.sh script complete” message ;)
Note: During the install use a 5Volt DC power supply as USB does not always provide enough power.
Next step insert your micro SD in you Beagle bone and boot from it, while you booting connect with minicom to the serial console to perform the Debian network installation:

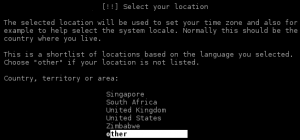
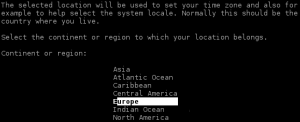
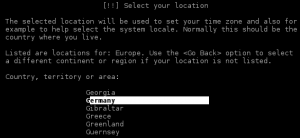
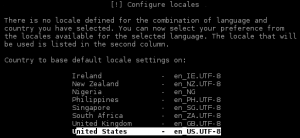


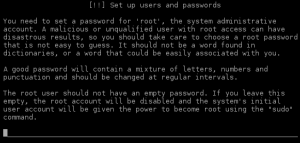

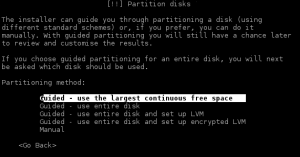

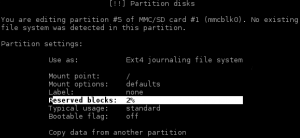

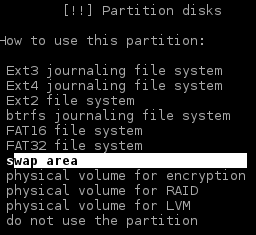
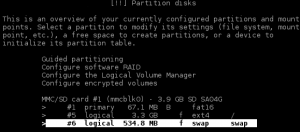

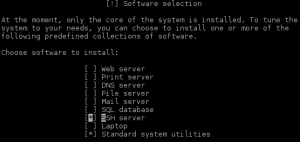

Minicom
Is a extra package:
apt-get install minicom |
Start minicom and perform some configuration steps:
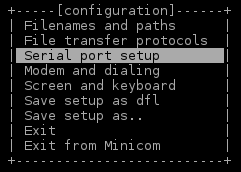
Click on picture to resize:
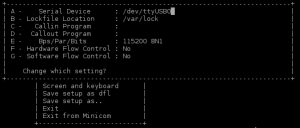
Now save setup as dfl and exit from Minicom setup.
Start minicom by issuing minicom command
![]() Serial Console:
Serial Console:
After Debian installation you will be not able to login to the system, you will be prompted to enter your credential again and again.
The serial connection is running over ttyO0
![]() ATTENTION a trap – not ZERO ZERO its BIG O like Oscar and zer0 =)
ATTENTION a trap – not ZERO ZERO its BIG O like Oscar and zer0 =)
Put this line to “/etc/rc.local“, to be able to login.
agetty 115200 ttyO0 & |
Made a little video of booting over serial console:
[youtube_sc url=”http://youtu.be/6l7sm5UFVFI”]
Set CPU frequency
There are two reasons to do that:
1. you are on battery power and want to use as little power as possible, you could set the BeagleBone to use a lower frequency clock speed.
2. you are connected to a DC or USB power source and you could give your puppy more speed
Install additional package to read the frequency:
apt-get install cpufrequtils |
Show the actual frequency by issuing cpufreq-info.
As you see BeagleBone is running Default with 275 MHz
Determine the minimum and maximum CPU frequency allowed:
cpufreq-info -l |
Set frequency to 500 MHz
cpufreq-set -f 500 |
Now you are able to ste speed from userspace:
#500 MHz echo 500000 > /sys/devices/system/cpu/cpu0/cpufreq/scaling_setspeed #set back to 275 MHz echo 275000 > /sys/devices/system/cpu/cpu0/cpufreq/scaling_setspeed |


Ahh — I write two other posts about Beagle Bone;) stay tuned. Topics: power consumption and one wire bus
Thank you! Swap is important for some applications like aptitude – without swap it work not correctly. Other “Memory Hungry” application need swap as extension to RAM, to run over longer time more efficient. BTW you can create a file swap, same effect.
Hi,
very interesting stuff here! Thank you very much! :)
One question: You wroteBe sure you created swap before you continue, this makes your board faster”
Why make this my board faster?
Thank you very much in advance!
Best regards,
mcc