zeldor.biz

Linux, programming and more

Copyright © 2021
Log in

Getting started with arduino Part III

September 2, 2012 by Igor Drobot Leave a Comment


Yesterday I connected my MacBook Pro to Arduino Duemilanove, and I was a little bit confused. I was not able to select the tty.usbserial Port to transfer my compiled code to arduino.

If you are using a USB Arduino you need to install a virtual COM Port driver to be able to connect MacBook to your Arduino.

The latest version of the drivers can be found on the FTDI website.

Connect the board to your MacBook, over:

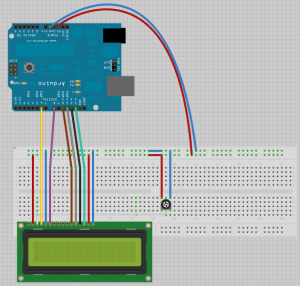
This is the arduino code to control the LCD display, its works only with this connection schema.

#include  	 	<liquidcrystal.h>
 
LiquidCrystal lcd(6, 8, 10, 11, 12, 13);
 
void setup() {
  lcd.begin(16, 2);
  lcd.print("www.zeldor.biz");
}
 
void loop() {
  lcd.setCursor(0, 1);
}
</liquidcrystal.h>

#include <liquidcrystal.h> LiquidCrystal lcd(6, 8, 10, 11, 12, 13); void setup() { lcd.begin(16, 2); lcd.print("www.zeldor.biz"); } void loop() { lcd.setCursor(0, 1); } </liquidcrystal.h>

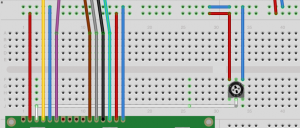
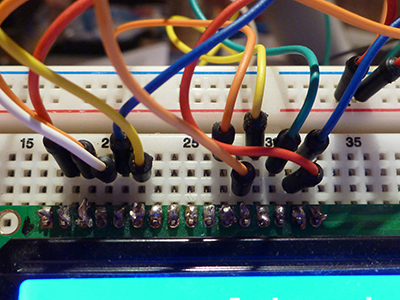
How to connect and which pins to use with this code:
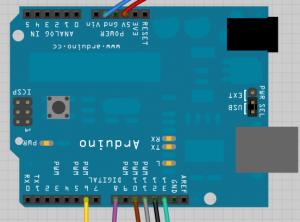
Arduino Board (click to resize)

Bread Board (click to resize)

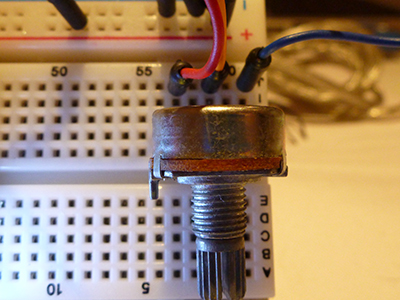
All parts (click to resize)

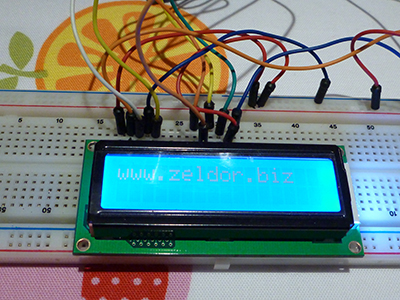
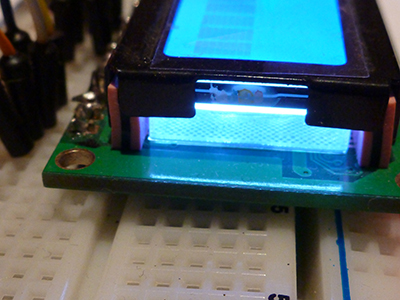
And the result:

On practice:


Filed Under: Apple, DIY, Mac OS X Tagged With: arduino, Atmega, LCD, Mac OS X Arduino, serial

Categories

Archives

Tags

apache2 Apple arduino ARM Automation backup bash Cisco Cluster Corosync Database Debian Debian squeeze DIY Fedora FTP Fun GIT Icinga Ipv6 KVM Linux LVM MAC OS X Monitoring MySQL Nagios Nginx openSUSE OpenVPN PHP Proxy Python python3 qemu RAID Roundcube rsync security ssh Ubuntu virtualization Windows Windows 7 Wordpress

Leave a Reply Cancel reply

Your email address will not be published. Required fields are marked *